


Updated for Patch 2.1.67 (April 27, 2026): Terizla’s best build and emblem have been revised to match the latest meta.
Terizla is the kind of fighter that punishes you for fighting him. His passive gets stronger the lower his HP drops, which means the more you hit him, the harder he becomes to kill. Pair that with heavy burst damage and one of the best Flicker combo ultimates in the game, and you have a hero that can completely flip a team fight on his own.
Patch 2.1.67 made a big change: Moonton removed Terizla’s mana system entirely. All three of his skills are now free to cast. That fixes one of his most frustrating problems in the EXP lane, where you’d find yourself at full HP but out of mana and unable to trade. The tradeoff is slightly longer cooldowns, but the overall quality of life improvement is real and changes how aggressive you can be early on.
If you are new to Terizla, this MLBB guide will walk you through his skills, the best build, how to do his combos, and how to play him from early game to late game.
💡 Saving up for Terizla’s skin? Here’s how to recharge ML Diamonds using GCash on Codashop and get bonus Diamonds on every top-up.
Terizla Skills
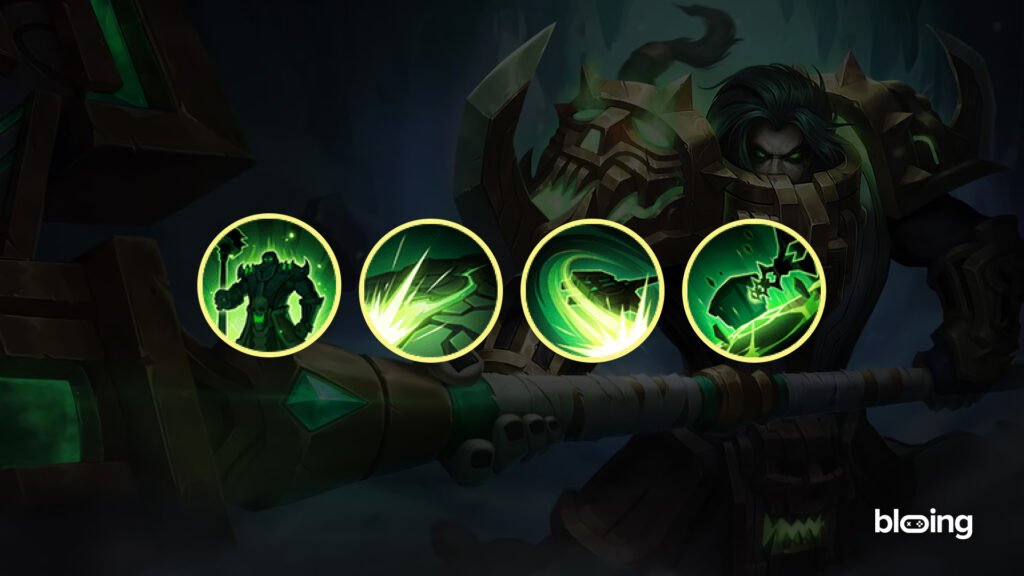
Passive: Body of Smith
The more damage you take, the harder you become to kill. As your HP drops, you gain damage reduction that keeps stacking until it hits the cap. You also cannot gain bonus Attack Speed at all. Instead, any Attack Speed you would get from items or emblems automatically converts into bonus Physical Attack.
| Key Detail | What It Means for You |
|---|---|
| Gets tankier as he loses HP | Do not panic when you are low. That is when the passive is working hardest. |
| Damage reduction has a cap | You will not become fully invincible, but late-fight trades are heavily in your favor |
| Attack Speed converts to Physical Attack | Never buy Attack Speed items on Terizla. It just goes to waste. |
Coaching note: New players make the mistake of panicking and backing out when Terizla gets low. That is actually when he is the most dangerous. Body of Smith means a fight at 20% HP might be one you can still win. Learn to trust the passive.
Skill 1: Revenge Strike
You smash the ground with your hammer and send a fissure forward in a straight line. When it connects with an enemy hero, it drills into them, slows them, and explodes after a short delay. The explosion hits harder the lower the target’s HP already is. You also get a brief Movement Speed boost after casting, which helps you chase or reposition.
| Key Detail | What It Means for You |
|---|---|
| Straight-line projectile | Aim manually. It will miss if you just point it in the general direction. |
| Explosion scales off missing HP | The more damaged the target, the bigger the explosion |
| Movement Speed boost on cast | Good for chasing a fleeing enemy or creating distance when you need to escape |
| Slows the target on hit | Makes your Execution Strike follow-up much easier to land |
Coaching note: Revenge Strike is not your opener. Use it after you have already dealt some damage, because the delayed explosion scales off the enemy’s missing HP. Hit them with Execution Strike first to chip them down, then land Revenge Strike for the big explosion payoff.
Skill 2: Execution Strike
You swing your hammer in a fan-shaped arc up to three times. The first two swings deal moderate damage and slow the enemy. The third swing hits noticeably harder and stacks the slow even further. All three casts happen in quick succession, and the slow from each hit stacks, making the target progressively harder to escape.
| Key Detail | What It Means for You |
|---|---|
| Three-hit skill | Always commit to all three swings in a trade. The third hits much harder. |
| Slow stacks across all three casts | By the third hit, enemies are moving very slowly and cannot escape easily |
| You can move slightly between casts | Reposition during the animation to stay on top of the enemy |
| Only hard CC interrupts it | Knock-up, suppression, or freeze will cancel the skill. Most pokes will not. |
Coaching note: The third swing does almost double the damage of the first two. Whenever you go in for a trade, commit to all three casts. With mana removed in Patch 2.1.67, there is no reason to hold back anymore. You can also move slightly between casts, so keep repositioning to stay on top of the enemy. Only hard CC like knock-up, suppression, or freeze can stop the skill mid-cast.
Ultimate: Penalty Zone
You leap to a target area and slam down, knocking nearby enemies airborne on landing. You then summon a Scaffold that slows everyone in the area and repeatedly hooks them back toward the center, dealing damage with each pull. Enemies caught in it have a very hard time escaping.
| Key Detail | What It Means for You |
|---|---|
| Has a visible cast animation | Enemies can dodge it if they spot it early. Cast from a bush or use Flicker to counter this. |
| Knocks enemies airborne on landing | Every enemy in range gets interrupted, not just one target |
| Scaffold pulls enemies repeatedly | Multiple hits and keeps them stuck in your kill zone |
| Can jump over thin walls | Useful as an escape tool when you are being chased |
Coaching note: The biggest skill expression on Terizla is the Flicker plus Penalty Zone combo. You activate Flicker in the middle of the ultimate’s cast animation to reposition and land it somewhere the enemy does not expect. If you cast Penalty Zone from a bush, the animation is even harder to react to. Both methods are worth learning.
Skill Order
| Priority | Skill | Reason |
|---|---|---|
| Max first | Skill 2 (Execution Strike) | Your main damage tool and wave clear |
| Level when available | Skill 3 (Penalty Zone) | Always upgrade the ultimate on level 4 and 8 |
| Max last | Skill 1 (Revenge Strike) | Useful utility, but lower scaling priority |
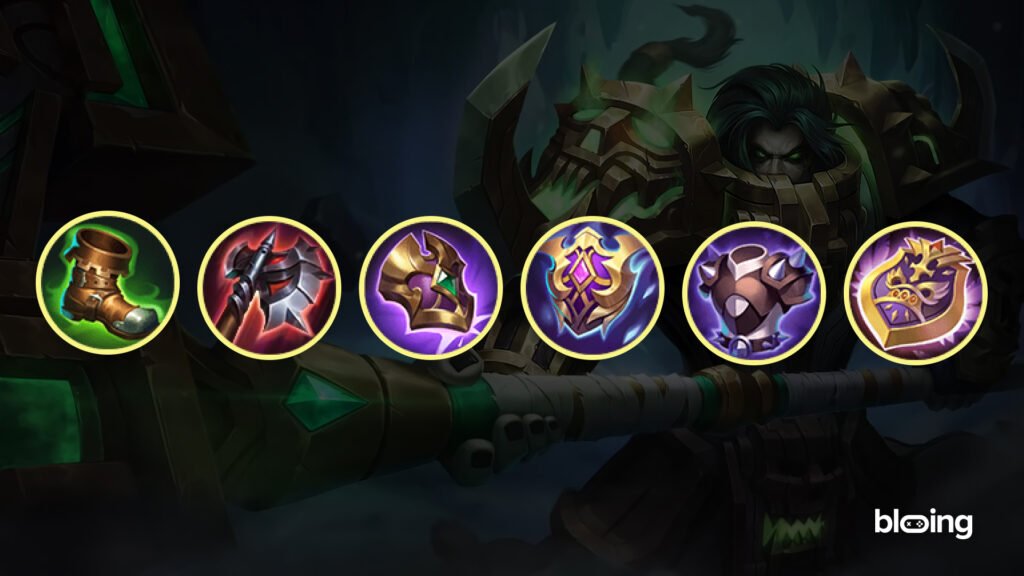
Terizla Best ML Build
The best item build for Terizla in Mobile Legends
| Order | Item | Role | Why |
|---|---|---|---|
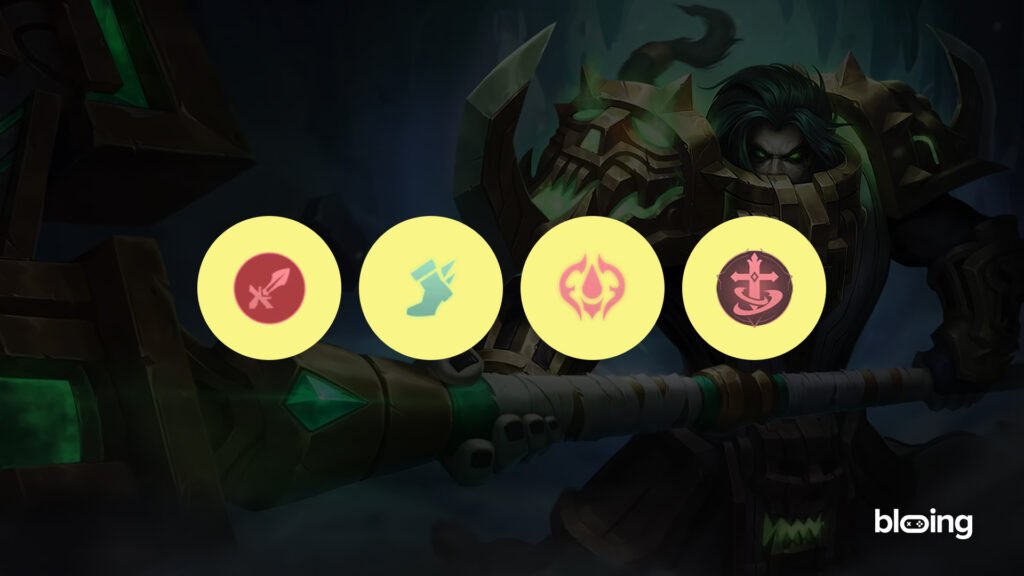
| 1 | Warrior Boots | Defense | Early physical defense for trading in the EXP lane. The Valor passive stacks up to +25 Physical Defense during combat. |
| 2 | War Axe | Damage / Sustain | Core offensive item. The Fighting Spirit passive stacks up to 6 times for bonus Physical Attack and true damage. Terizla hits enemies constantly with Execution Strike, so this stacks up fast. |
| 3 | Queen’s Wings | Damage / Defense | HP, Adaptive Attack, Cooldown Reduction, and Spell Vamp in one item. The low-HP damage boost also synergizes with Body of Smith since you are intentionally staying in fights longer. |
| 4 | Dominance Ice | Defense | Physical Defense, HP, Cooldown Reduction, and the Glacier passive that reduces nearby enemies’ Attack Speed and shields. Helps you survive extended fights against physical carries. |
| 5 | Athena’s Shield | Defense | Magic Defense and a passive shield that refreshes every 30 seconds. Covers your weak side against magic damage. |
| 6 | Immortality | Defense | Standard insurance item for late game. Lets you dive aggressively without one death ending the game. |
Recommended Emblem Build
| Tier | Talent | Why |
|---|---|---|
| Tier 1 | Firmness | Extra Physical Defense for laning. Makes early trades easier against the physical damage dealers you will face most often in the EXP lane. |
| Tier 2 | Tenacity | When HP drops below 40%, you get bonus defensive stats. This directly stacks with Body of Smith, which is also scaling up at the same time. The combination makes Terizla extremely hard to finish off at low HP. |
| Tier 3 | Brave Smite | Restores HP every time you hit an enemy with a CC skill. Both Execution Strike and Penalty Zone apply CC, so you trigger this constantly in fights. It is the sustain tool that keeps you alive long enough for Body of Smith to do its job. |
Battle Spell
| Spell | When to Pick | Why |
|---|---|---|
| Flicker | Default pick | Terizla has no built-in mobility. Flicker covers that gap and unlocks the Flicker plus Penalty Zone combo, which is one of the strongest engage tools in the game. |
| Vengeance | vs heavy physical carry focus | 35% damage reduction during the active and reflected Magic Damage back at attackers. Pairs very well with Body of Smith’s low-HP scaling if you are getting focused. |
Terizla Combos
Basic Lane Combo (No Ultimate)
Use this in the early game to poke and trade in lane.
- Cast Execution Strike (1st swing) to apply the slow
- Cast Revenge Strike while the enemy is slowed so it lands reliably
- Finish with the 2nd and 3rd swing of Execution Strike for the bulk of your damage
The slow from the first Execution Strike swing makes Revenge Strike much easier to hit. Once Revenge Strike is drilling into them, the remaining Execution Strike hits will chip their HP down, and the delayed explosion from Revenge Strike will hit harder as a result.
Standard Fight Combo (With Ultimate)
Use this once you have Penalty Zone unlocked for your main burst rotation.
- Cast Penalty Zone to knock up enemies and set up the Scaffold pull
- Cast Revenge Strike while enemies are locked in the pull
- Finish with all three casts of Execution Strike
The Scaffold keeps enemies in range, so landing all three Execution Strike swings becomes trivial. Revenge Strike’s explosion also hits harder here because the enemies have already taken damage from the landing and the pulls.
Reversal Poke Combo
Use this against mobile enemies who dodge Revenge Strike easily.
- Cast Execution Strike once to apply the slow
- Use Revenge Strike now that they are slowed and cannot easily sidestep it
- Cast Penalty Zone to lock them down
- Finish with the remaining Execution Strike swings
Signature Flicker Combo
Use this to surprise enemies from an unexpected angle. This is the combo that will catch people off guard.
- Start Execution Strike once to apply a slow
- Activate Flicker mid-animation to reposition to a new location
- Immediately cast Penalty Zone at your new position
- Follow up with Revenge Strike into the remaining Execution Strike swings
The reason this works so well is that Penalty Zone lands where you are after the Flicker, not where you started. Enemies who think they are at a safe distance suddenly have nowhere to go.
Combo Summary
| Combo | Best For |
|---|---|
| Skill 2 > Skill 1 > Skill 2 x2 | Early game poke, no ultimate available |
| Skill 3 > Skill 1 > Skill 2 x3 | Standard burst rotation once you have ultimate |
| Skill 2 x1 > Skill 1 > Skill 3 > Skill 2 x2 | Catching mobile enemies who dodge your ult |
| Skill 2 x1 > Flicker > Skill 3 > Skill 1 > Skill 2 x2 | Surprise engage on enemies at range |
Laning Phase & Gameplay Strategy
Early Game (Levels 1 to 7)
Start with Execution Strike at level 1 for early wave clear. At level 2, grab Revenge Strike and start trading with the enemy laner. The two-skill combination alone is enough to win most early trades in the EXP lane.
With mana completely removed in Patch 2.1.67, you no longer need to ration your skills. Use Execution Strike freely to poke and pressure. That said, do not overcommit to kills before you have Penalty Zone. Your job in the early game is to farm, pressure your laner, and avoid getting ganked by the enemy jungler.
Mid Game (Levels 8 to 12)
Once you have Penalty Zone and at least two items built, start looking for roam opportunities. Terizla’s ultimate is a strong ganking tool, especially with Flicker, because enemies in other lanes rarely see it coming. Rotate to contest Turtle when your lane is pushed in, and look for 2v2 or 3v3 skirmishes rather than solo diving enemy territory.
Late Game (Level 13 and above)
In late game, you are the frontline initiator. Your job in team fights is to dive in with Penalty Zone, keep multiple enemies locked in the Scaffold pull, and let your team follow up. Body of Smith means you can stay in the center of a chaotic fight much longer than your HP bar would normally suggest. Do not back out just because you are taking damage. Stay in, keep hitting, and trust the passive to keep you alive.
Target priority in team fights:
| Target | Why |
|---|---|
| Enemy marksman or mage | High damage dealers that need to be disrupted first |
| Enemy assassins diving your backline | Use Penalty Zone to CC them away from your carries |
| Clustered enemies | Penalty Zone is AoE, hitting multiple targets is always worth it |
Counters
Heroes That Counter Terizla
| Hero | Why They Counter You | How to Play Around It |
|---|---|---|
| Karrie | Her Lightwheel Mark passive deals true damage, which bypasses Body of Smith’s damage reduction entirely | Avoid extended 1v1s. Ask your team to assist. Get Dominance Ice to reduce her Attack Speed. |
| Valir | Knockbacks keep Terizla at range where he cannot do much. Vengeance Flame gives him a built-in purify against your CC | Do not chase Valir alone. Engage only when he has already used Vengeance Flame. |
| Arlott | Mobile enough to dodge your skills and deals high burst that hits before Body of Smith scales up | Wait until Arlott misses a skill before engaging. Do not walk into his combo. |
Item Counters Against Terizla
| Item | Effect on You | When Enemies Build It |
|---|---|---|
| Necklace of Durance | Reduces your Spell Vamp healing by 50% | When you are sustaining too much in fights |
| Sea Halberd | Reduces healing effects on you | Used by marksmen against your sustain |
| Dominance Ice | Reduces your Attack Speed (converts to less Physical Attack via passive) | Standard tank item that also punishes your passive conversion |
Heroes Terizla Is Strong Against
| Hero | Why |
|---|---|
| Hanabi | No escape skills, cannot avoid Penalty Zone’s pull |
| Granger | Slow mobility, Terizla can close the gap and trade favorably |
| Freya | Close-range fighter that has to fight on Terizla’s terms |
Conclusion
Terizla is one of the more forgiving fighters once you understand his passive. The low-HP tankiness removes a lot of the stress that comes with playing frontline, and the Flicker plus Penalty Zone combo gives you a genuine playmaking tool that can change a fight on its own.
The biggest thing to focus on first is getting comfortable with Execution Strike. Three full casts, every trade. That habit alone will make a noticeable difference in how your lane phase goes. Everything else, the Flicker combo and the passive management, comes after you have that down.
With mana removed in Patch 2.1.67, now is a good time to pick him up if you have been on the fence.
Follow Blooing on Facebook, YouTube, and TikTok for more MLBB news, guides, and updates.
Editor’s Note: We’re constantly updating all of our Mobile Legends guides according to the latest patch notes made by MLBB to keep our guides fresh, up-to-date, on-trend, and reliable.


Leave a comment